RV-14 Finishing - Canopy, Cowl, and More
Added 11/27/2015With fall approaching, and more delays for the Firewall Forward kit, motivation draining, there wasn't as much progress as I'd hoped. People who live in the warmer climates only need to worry about mowing yards, but up in this area we have the annual rituals to attend to....winterize boats, bring out the snowblower and prepare it, winterize the lawn mowers, rake leaves and pine needles and cover the plants...the list is endless! I was thinking the other day on how people always speak of that northern work ethic that people seem to have here. When you go to a business in the south, people don't rush, and fewer places seem to have really hard working folks, and they comment to me about that "northern work ethic". Now that I think about it, I don't know that this is by choice. You do it because you have to. You can't live up north without dealing with this seasonal change, and it drives you to get the work done so you can get back to your projects. That's what fall has been for me...a bit of airplane building squeezed in between an endless supply of work, and a couple of fun days of activities. We've had extraordinary weather this year though, so finding days with warm enough temps hasn't been a big issue so far. And with the price of heating oil where it is, maybe keeping this thing in the garage a few more months won't break the bank after all.
 |
 |
 |
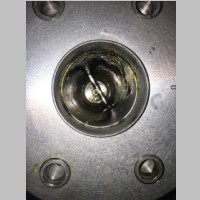 |
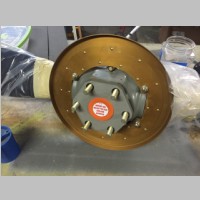
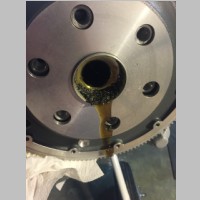
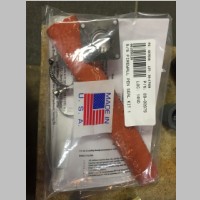
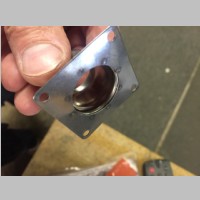
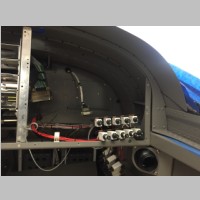
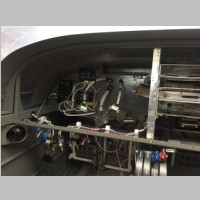
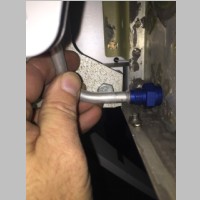
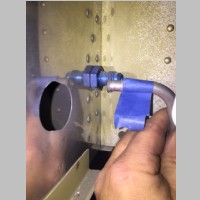
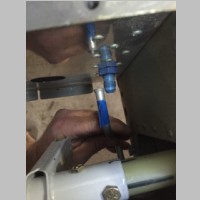
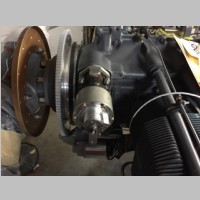
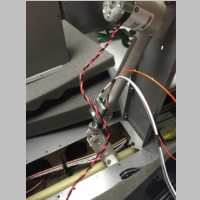
One of the early things on the list is getting the spinner kit. If Van's would just do everyone a favor and get the RV-14 spinner kit out the door, it would make your build a lot smoother. This is because you really need that spinner backplane installed along with the prop, if you want to fit your cowl. So I set to work the hard way, buying their normal C/S-13 spinner kit and installing that one. It's the same basic kit, with less work done for you. Also part of that task is yanking the front plug out of the crankshaft, since we're using a constant speed propeller. Below you will see one of my disappointments that I ordered...thankfully was able to return. I wanted to get firewall passthrough kits for my engine monitoring wiring and lightspeed ignition, so I went to find the Safe-Air one that many people had been using. Unfortunately they stopped selling it. So I bought this one from Aircraft Spruce. It turns out that this one is really junk compared to the safe air one..with tack welded flange and sharper edges. So I promptly returned that. I'd rather use a nice aluminum one (I happen to have an extra) than this garbage. But, in the process of talking to Avery Tools, I found out that they are now going to begin producing the firewall passthroughs again, and soon they will be available through Cleaveland Aircraft Tools. Avery is closing their retail operation but will still produce some of their tools and parts, and sell through other distributors. |
|||
 |
 |
 |
 |
 |
 |
 |
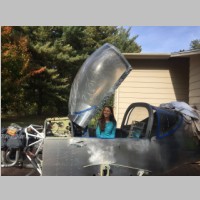 |
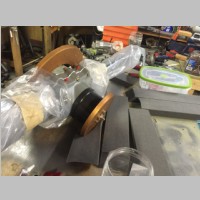
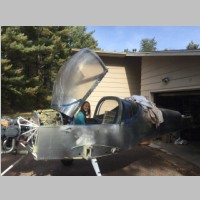
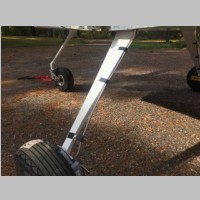
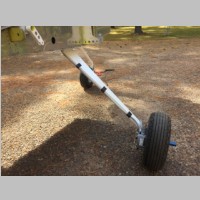
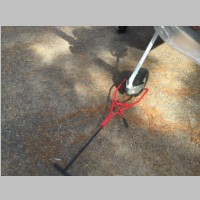
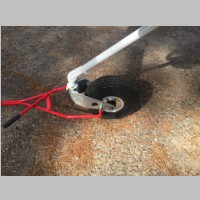
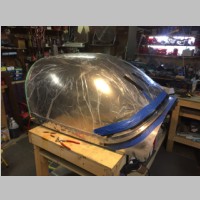
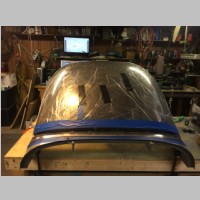
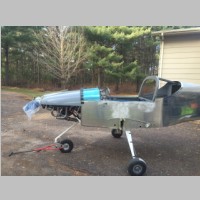
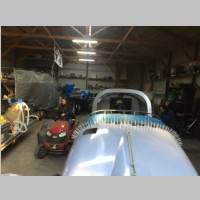
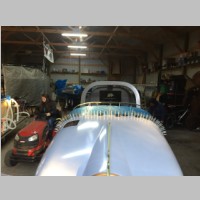
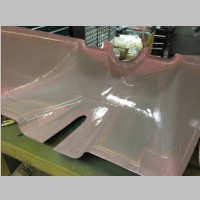
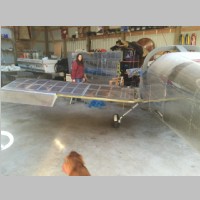
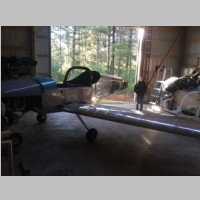
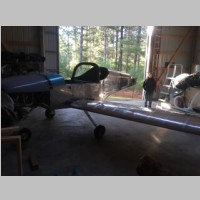
One of the larger pieces of the finishing kit is the canopy. This turns out to be not all that hard, really, but fairly tedious for a while. The actual drilling and fitting wasn't too bad, and soon we had a canopy that you could tip up and down. It did require a little extra filing on the canopy attach brackets where they join the fuselage. Below you can also see some pictures of my Bogerts Tow bar....the same type I have for the RV-10. It makes moving the -14 around the yard a lot easier. |
|||
 |
 |
 |
 |
 |
 |
 |
 |
 |
 |
 |
 |
 |
 |
 |
 |
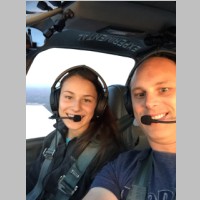
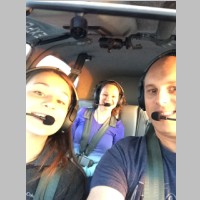
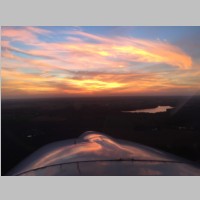
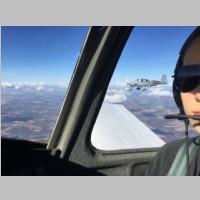
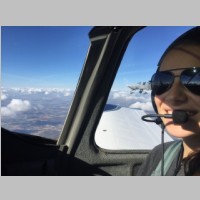
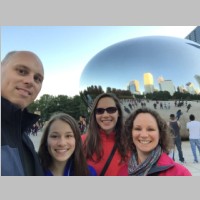
Now it was time for a little timeout as we took a few nice flights in the RV-10, the kids finished Volleyball for the season, and we flew with a buddy who had just completed his RV-10 project. My daughter is going to be a heck of an RV-14 pilot. Below you see her flying in formation with the RV-10. Of course, she's the lead, so she had the easy job, but she flies very well, and provided a good stable climb to altitude and good smoothness all the way around. It makes me proud every time I see her handle the airplane. We also got the panel out of the plane so that we could finish painting the remaining interior pieces. At this point I probably shouldn't have painted so much of the hidden areas in the plane, because 1 quart of interior paint didn't quite do it for me, so I had to buy another. If I'd have done a more sparing job with it, I could have gotten by with 1 quart. |
|||
 |
 |
 |
 |
 |
 |
 |
 |
 |
 |
 |
 |
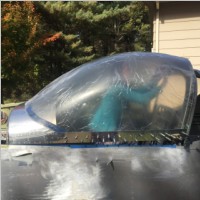
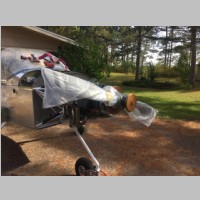
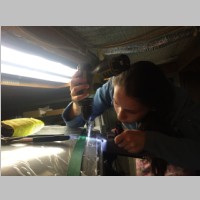
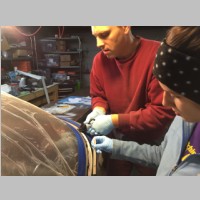
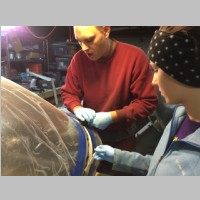
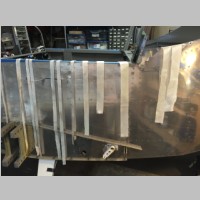
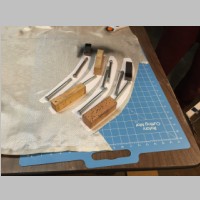
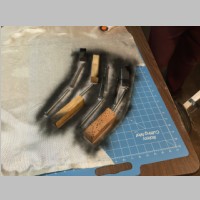
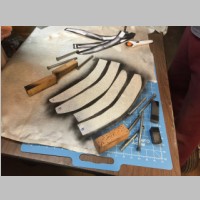
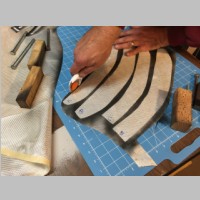
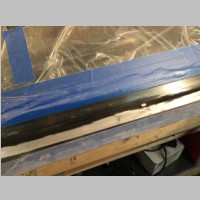
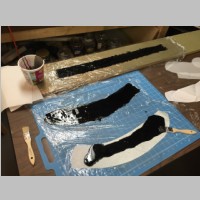
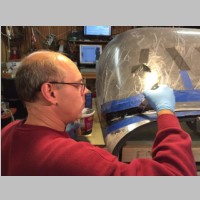
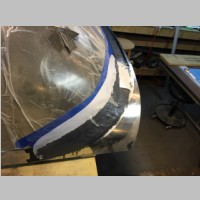
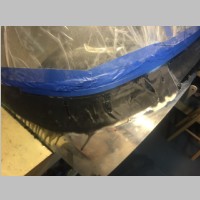
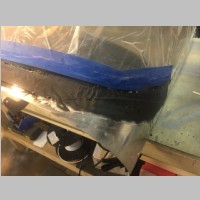
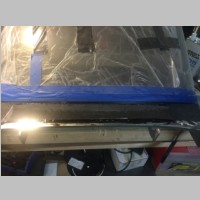
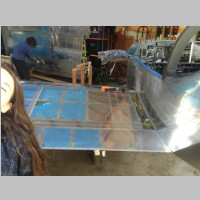
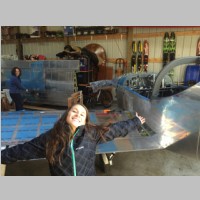
It's been a few weeks since I did this step, so some of the memories are already disappearing, but the fiberglass layup is one of the more stressful times in the canopy construction. We did a pretty good job preparing everything, and I had a couple good helpers for the task, but the actual layup didn't take too much time. One bit of advice I can now give....the strips of cloth you cut are all estimates. They do have a recommended order you go in, but the actual quantity of strips and width will vary, so don't waste too much time making perfect measurements of the pieces. The actual widths and lengths need only be approximate....go a little longer if you wish, but you'll end up cutting some off the ends anyway during the layup process. We stressed out way too much getting the pieces perfect. Also, the angled corner pieces you see being cut below, well, not all of them fit exactly as I had wanted. Some are a little small, or large. So even though those are template cut, they aren't necessarily going to ensure yours is perfect. You may need to employ various techniques or cut fill pieces depending on what yours fits like. They are a good guide though. |
|||
 |
 |
 |
 |
 |
 |
 |
 |
 |
 |
 |
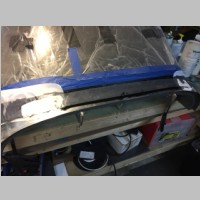 |
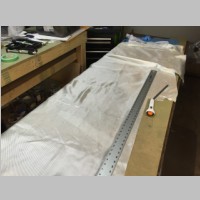
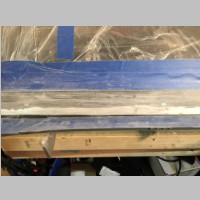
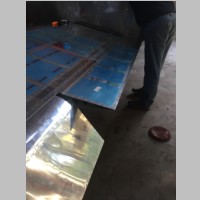
At this point, I'm saving the finishing sanding for later. It's actually smooth enough, with the peel ply finish, to fly it as-is, if I want to. But I'll do a little body work at a later time. I found some great sanding accessories that should make the windshield fairing sanding easier...the guy who helped me paint the RV-10 used some of these tools: Dura-Block AF4412 Black 1/3-Radius Sanding Blockhttp://www.amazon.com/gp/product/B004BB8N62?psc=1&redirect=true&ref_=oh_aui_detailpage_o02_s01Dura-Block AF4404 Black Round Sanding Blockhttp://www.amazon.com/gp/product/B004BBAMVQ?psc=1&redirect=true&ref_=oh_aui_detailpage_o02_s00Motor Guard SB-1 Soft Block Flexible Sanding Blockhttp://www.amazon.com/gp/product/B003WUYG1E?psc=1&redirect=true&ref_=oh_aui_detailpage_o01_s00 |
|||
 |
 |
 |
 |
 |
 |
 |
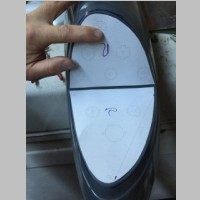 |
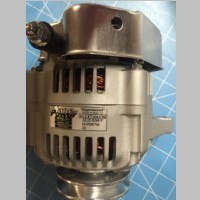
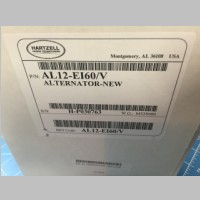
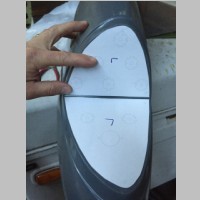
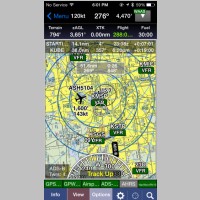
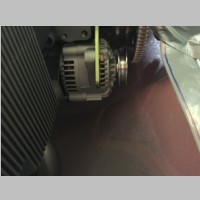
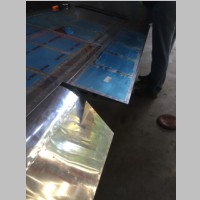
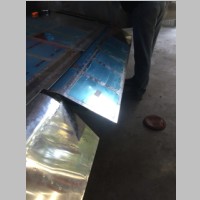
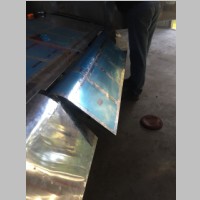
Now another foray into side jobs again. I bought my 60A Plane Power alternator and got it installed. I also got my templates figured out for my wingtip NAV lights that I'll be building. I just need to get the mirrored plexi cut and I'll be ready to go with those. Below I took a screenshot on WingX Pro on my iphone, integrated into my ADS-B NavWorX system...the same integration will be in the RV-14. And we took a quick trip down to Chicago during a weekend to take a little time off. |
|||
 |
 |
 |
 |
 |
 |
 |
 |
 |
 |
 |
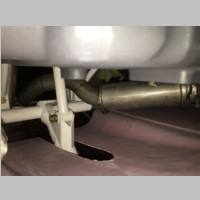 |
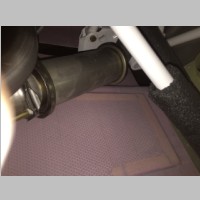
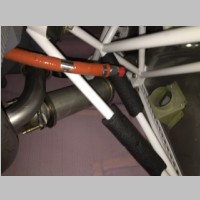
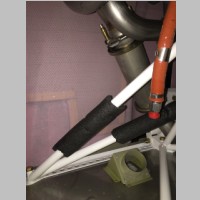
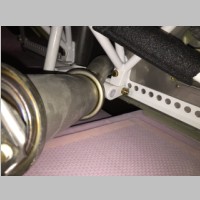
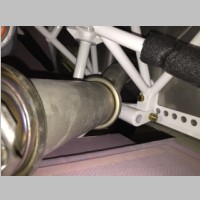
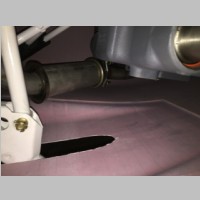
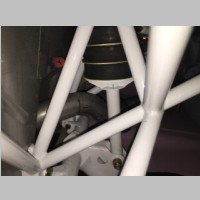
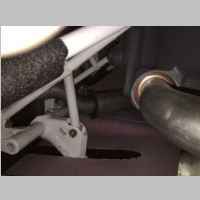
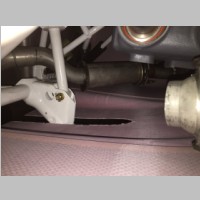
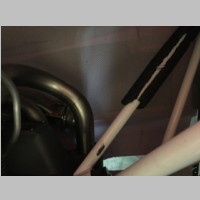
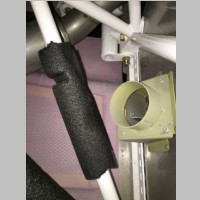
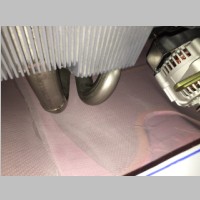
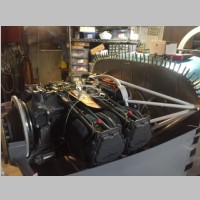
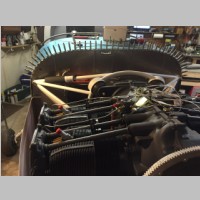
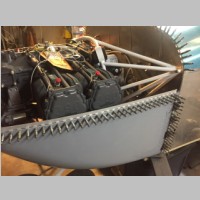
One of the more miserable situations in waiting for the firewall forward kit is the exhaust. Vetterman's has done a couple of exhaust designs now for the RV-14, and I would prefer to use theirs, as Van's system will likely be too restrictive if they do a 4 into 1 that ends with a 2" pipe. So Vetterman's should outperform what Van's would have to offer. The catch is that the very ill-conceived underbelly tunnel on the RV-14 makes everything more painful. If the cowl drop was a little lower, you could more easily exit the cowl like on the RV-10, under mount for the nose gear. But the shallowness of the engine mount doesn't leave much for an option for this on the RV-14, and clearly Van's wants to route the exhaust up and over that nose gear and then drop it back down out the tunnel. For one, it's just plain ugly, but it also involves a lot more twists and turns to get it to line up right, and you'll need just the right support for that. So after having test fit one Vetterman's design so far, I'm still not sure how this will end up. It may be that we have to completely chop up that cowl or do some funky tricks to get things right. That tunnel just wasn't the slickest move in the design. |
|||
 |
 |
 |
 |
 |
 |
 |
 |
 |
 |
 |
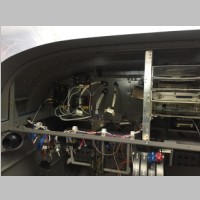 |
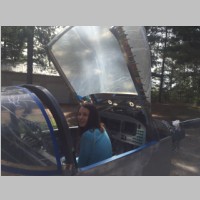
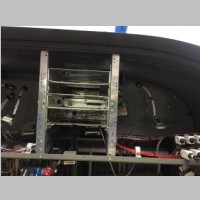
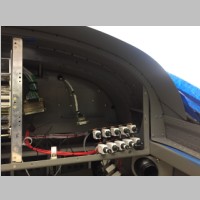
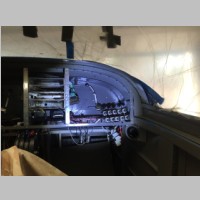
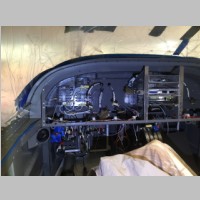
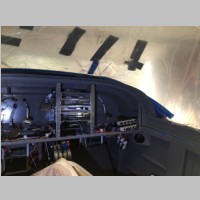
With the panel out, it was time to shut the canopy and see if any of my subpanel mounted accessories interfere with the canopy. Only one hole had to be moved. There are things that I'd have positioned slightly differently had I known how it would fit together, but the general fit of everything should be just fine. |
|||
 |
 |
 |
 |
 |
 |
 |
 |
 |
 |
 |
 |
 |
 |
 |
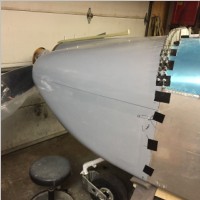 |
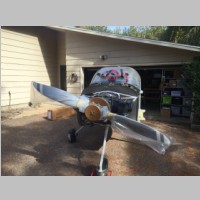
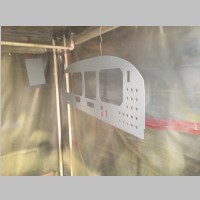
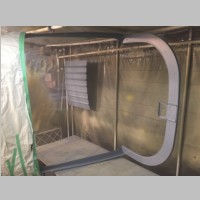
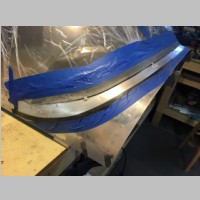
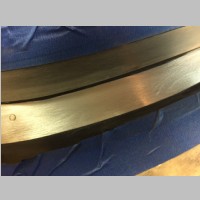
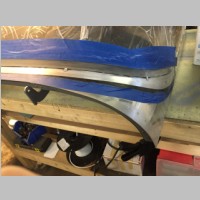
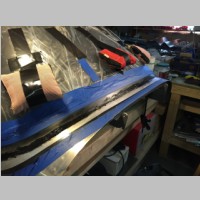
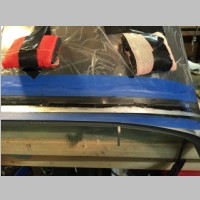
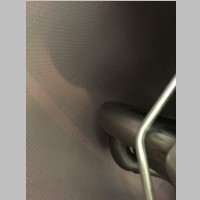
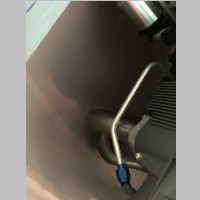
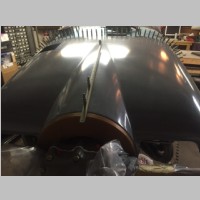
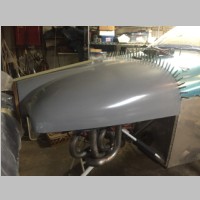
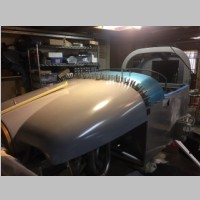
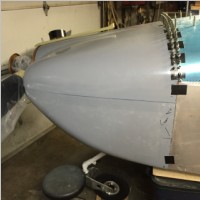
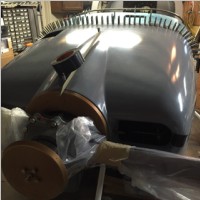
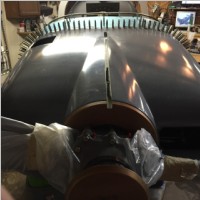
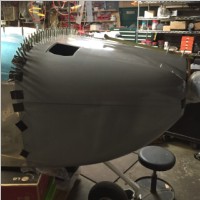
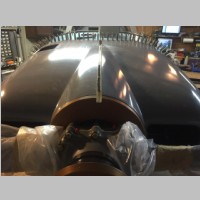
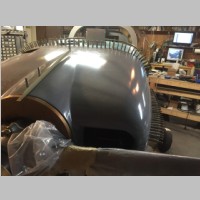
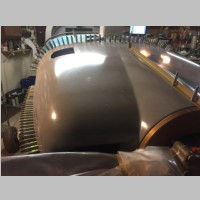
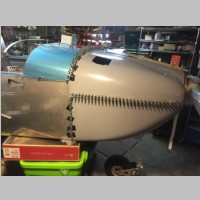
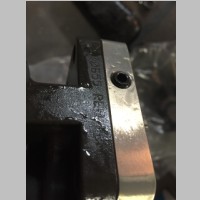
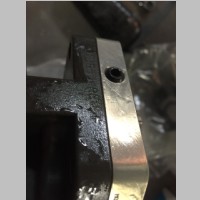
To get the exhaust test fit properly, one thing that you need done is the cowling, so I spent some time getting the cowling all mounted and drilled and in place. It started out real perfect, with everything lining up well, but after drilling all the hinges I had a little shifting so it isn't 100% perfectly aligned. But it looks pretty good. The RV-10 ended up the same way, so I guess I can live with that. This brings me to another really nasty design blooper that I think Van's made. The upper cowl attach hinge pins are a royal pain to install and remove. Yes, I have them tapered and bent, but they are nearly impossible to install or remove. In fact, for my wife and daughter, they can't remove them or insert them more than 1/2 way at all. So the system is useless to them if they should ever need to un-cowl the plane. And for me, I have now fought it a few times and one time it took me putting on a pair of heavy leather gloves and wrestling with the pin until my hands hurt, and after throwing all my weight behind it, I finally made the pin move, in trying to pull it out. So clearly this is NOT going to be how the cowl hinge pins remain on my plane. On the RV-10 they swap out the 1/8" hinge pin for thinner ones, and that works. The ones that we use on the RV-14 are .120", so perhaps if I find some .100 or .090" stainless spring steel pins I can re-make them and try that. But there is no way that this is going to be an acceptable end result the way it is today. Oh, and the RV-10 pins are inserted from the top, outside which works MUCH better. You see, when inserting the pins, these hinges sometimes need to be pushed together to align them. Well, if you are inserting a pin from only one side of the aircraft, you can't be on the other side to help that cowl fit together. With the RV-10, you can stand on both sides and insert the pins, and guide everything together smoothly. So that design really works far better as far as I'm concerned. At the far bottom of this section you can see the lower cowl, with a thin film of epoxy on it, to prevent oil from penetrating into the fiberglass pores. With that in place, it will now be time to rivet the hinges in their positions. |
|||
 |
 |
 |
 |
 |
 |
 |
 |
 |
 |
 |
 |
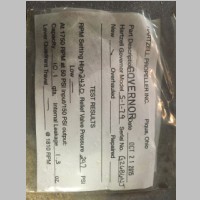
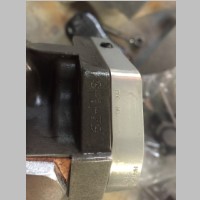
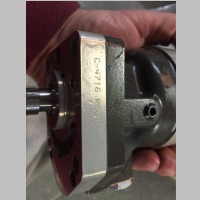
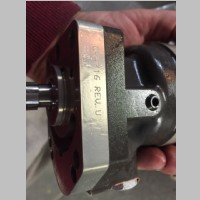
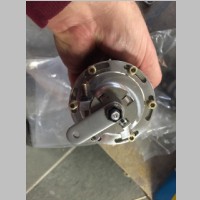
Hartzell S-1-79 Prop Governor
Hartzell made a model of governor for the RV-14 that puts the arm in the proper 180 degree position, so I had to wait until Van's ordered them before I could buy mine.
I spent literally HOURS AND HOURS over DAYS AND DAYS researching governors, and it was quite the adventure. in the end, I probably could have just made it easy on myself, and saved money, if I would have bought the MT P-860-3. The only change would be that I'd have to move the arm, I think. But I wanted to use the one Van's used. The specs are:
S-1-79, Arm at 180 degrees
High RPM is 2420
.895:1 drive gear rotation
CLOCKWISE drive
2700RPM
Oil flow rate is 8-12qts/min on any S model
At one point I wanted to try the PCU5000X, which is supposed to be an excellent governor. What turned me off to that though was that even in the face of conflicting evidence, they were quoting a .947:1 ratio governor. I called Lycoming, I think even twice, and learned all I could about the proper ratio for an IO-390. If you rear-mount the governor (which would be a royal pain on the RV-14), you use a completely different ratio, but the front mounted pad on the factory YIO-390 is supposed to use a .895:1 ratio governor. Now, the prop will run if you get the other one, but your RPM will be a little off, and you'll have to tweak the prop to fix it. The ratios are there to give the proper pressures and flows at specific RPM settings to achieve the proper final max RPM. And since PCU5000X couldn't properly identify the gear ratio (in their defense, they think it should be .947:1), I didn't want to go with it...otherwise I would have. Also, for people who have used Van's prop bracket (I am still hoping I can pre-buy mine, it's p/n FF-00009A) some have had to re-drill or remake holes for the PCU as opposed to the MT/Hartzell. So I kept it simple by ordering exactly what Van's uses.
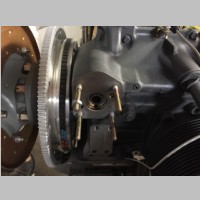
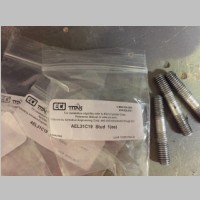
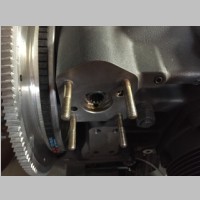
One other mini-adventure. If you look back at my electronic ignition install, you may remember that a friend recommended I change studs out for the lightspeed mag cover cap. Well, I ordered his recommended studs, but on my engine, those were unnecessarily way too long. The ones that came with my Right mag on the IO-390 are better than the ones that I spend $25 or $28 to get shipped to me! Well, I was burned yet again. Another builder noted that his governor needed longer studs. My nuts on the factory studs were RIGHT AT the point where 0 full threads were showing with the nuts in place. Well, he recommended 31C-19 studs, which are 2-3/8" rather than the factory 2" ones. Maybe his engine was different than mine, but 31C-19 gave me too much length too. I should have gone with 31C-18 or probably even 31C-17. I ended up having to use 2 or 3 washers and still have plenty of threads sticking out past the nut. It would have been far better to just get the -17's. So my advice is, don't read any of this and use it for yourself...when doing your install, measure them, and determine for YOU what is the proper stud. At this point, I have over $35 into replacing the studs, so I'm leaving them.
 |
 |
 |
 |
 |
 |
 |
 |
 |
 |
 |
 |
 |
Showplanes RV-14 Flap Positioning System
So here is one of the more "bingo" good moments in the build! I wanted to get the same Showplanes flap positioning system that I have on my RV-10, since it works so well, and I want both planes to fly and operated identically. Well, luckily, Showplanes had been waiting for Van's to get their system test fit so they could start production, and since it wasn't happening, they sent it to me to trial for them. I went out to my RV-10 and used a digital level to measure the deflection, and this RV-14 system basically duplicates it within a degree or so of what the RV-10 does...and that was their first shot at it! The RV-14 system mounts backwards of the RV-10, due to the way the motor and bellcranks mount, so I was impressed that they got it right. I took the RV-14 out to the shed where the wings were, and we inserted a wing. (This was much harder than on the RV-10...and beware that on the bottom side the wing skin can interfere and bend when hitting the spar) With the wing attached, we ran the flap system and tested it on the RV-14. Below is a youtube video of the results. Basically you get -3 degrees, 0 degrees, 15 degrees, and 30 degrees of flap deflection, with one switch hit for each step down, and when you flip the switch up, they fully retract automatically.
So that's it for my fall update! Hopefully some FWF kit items will be available soon, or there isn't going to be much to write about.
 |
 |
 |
 |
 |
 |
 |
 |
 |
 |
Previous | Site Home | Next