Panel, Aux Battery, and Finishing Kit Start
Added 7/10/2015Although this update is coming in July, there hasn't been much going on lately with the kit. This is exactly why the finishing kit delay was so devistating to the completion process...I lost the best building months of the year by not having it in Feb/March/April/May when the weather wasn't great and I had much more time. But I guess that means I'll just have to re-write the timeline for when this thing will be finished. So the pictures below are a gathering of the progress I've had since about April, working on things while I waited for the finishing kit.
 |
 |
 |
 |
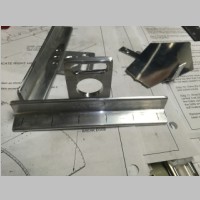
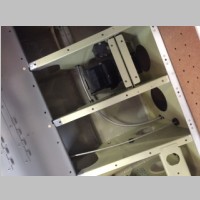
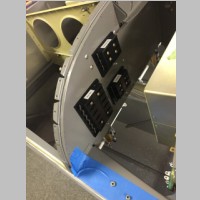
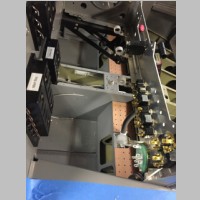
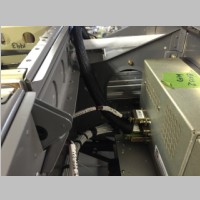
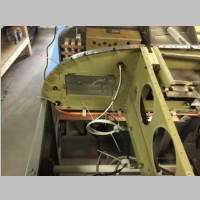
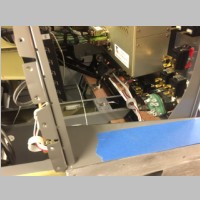
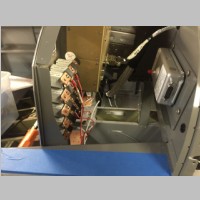
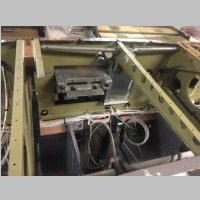
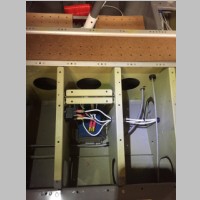
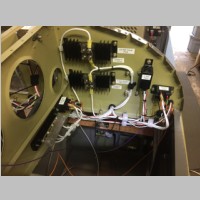
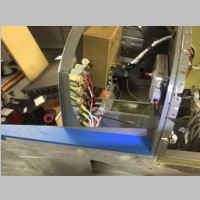
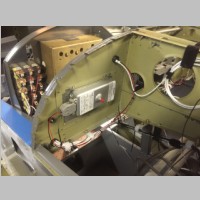
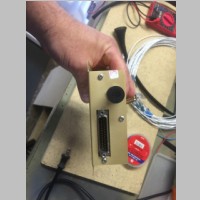
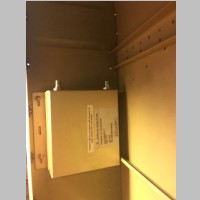
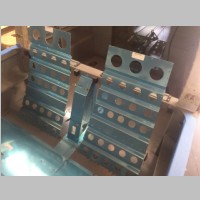
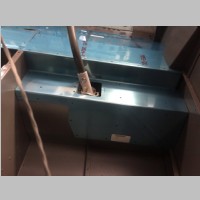
Just like in my RV-10, I found a good more "CG neutral" place to mount my aux batteries. I wanted to have a good long-running Aux battery system that would also be used to power some of my avionics during engine crank, when the voltage will brown out. I spent a bit of time refining my RV-10's electrical system further to make it even more robust, and now it was time to implement it. Since I'm not using the factory avionics system, I had to do some head scratching and focus to lay out all the components where they would make sense. Below you can see my 2 schottky diodes, used for E-Bus and Avionics systems, along with my 3 busses worth of fuse blocks. I don't want to use the factory location for the fuse blocks, because I wanted circuit breakers for things that I may want to shut off or reset, and for the rest of the items, if the fuse blows it can wait until I'm on the ground. I want to use that space to mount or fit a fire extinguisher instead. |
|||
 |
 |
 |
 |
 |
 |
 |
 |
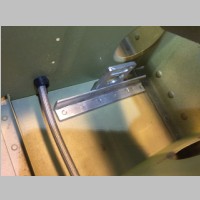
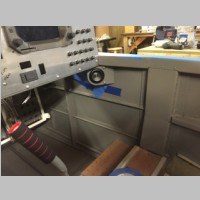
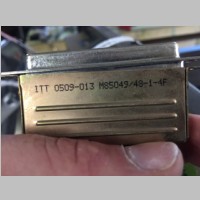
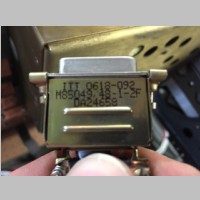
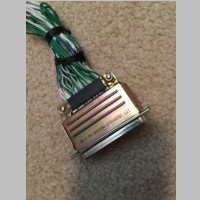
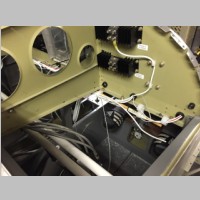
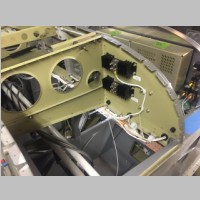
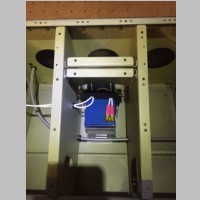
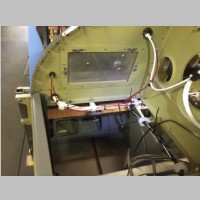
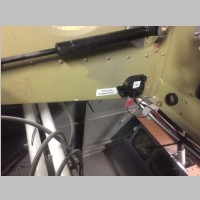
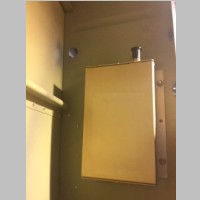
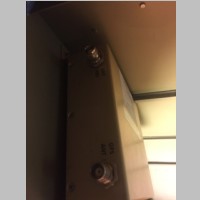
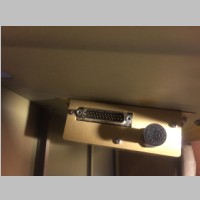
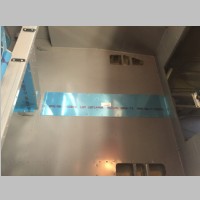
I finally took time to glue in my air vents, which I replaced with the far nicer aluminum versions. The ones that come with the kit are worthless but I forgot to exclude them when I ordered the fuselage. With the fuse block in, and the aux battery in place, it was now time to start wiring the power wires for many of the things in the system, so I slowly started connecting the ground tabs and switches and power leads for many of the items. For my Chelton system I took some photos of the connectors and connector shells, and ordered up all the right components so I can build my harnesses for between screens and other avionics to Chelton inputs. |
|||
 |
 |
 |
 |
 |
 |
 |
 |
 |
 |
 |
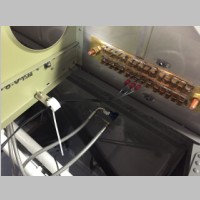 |
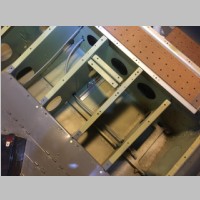
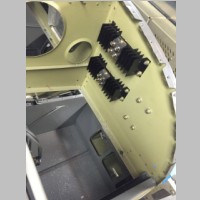
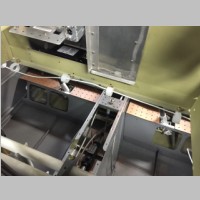
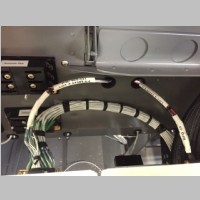
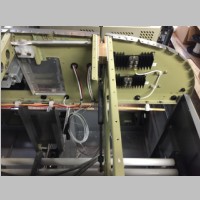
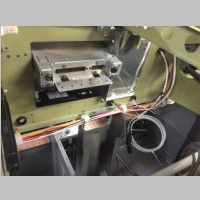
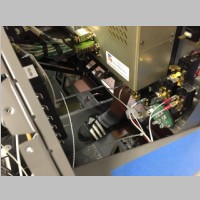
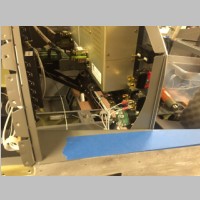
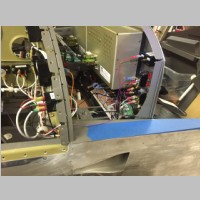
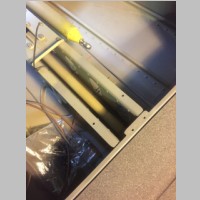
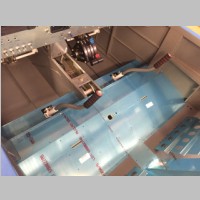
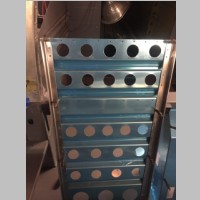
Above is my forest of tabs, and you can see some of the wire starting to get placed. I used a wooden dowel to "train" the wire where to go so it would make nice straight runs. Once the bundle started to come together I removed the dowel. It looks like it will be FAR easier to wire the RV-14 than the RV-10, due to much easier wire access and good routing locations. |
|||
 |
 |
 |
 |
 |
 |
 |
 |
 |
 |
 |
 |
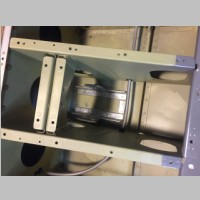
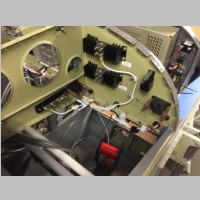
Most of the pictures in this area are just repetitive pictures as I went through the wiring process. Nothing too special..but they show some of the progression. Below are the new batteries in place. |
|||
 |
 |
 |
 |
 |
 |
 |
 |
 |
 |
 |
 |
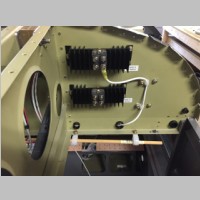
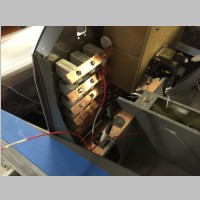
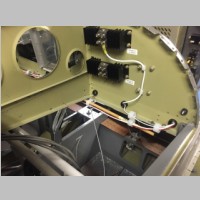
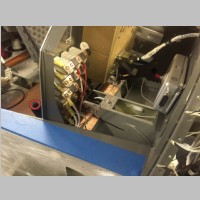
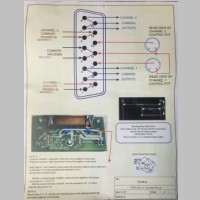
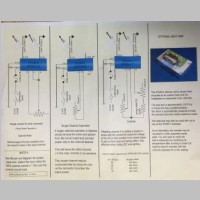
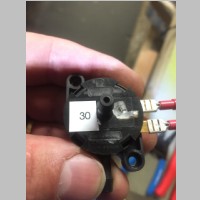
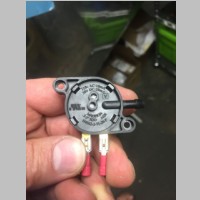
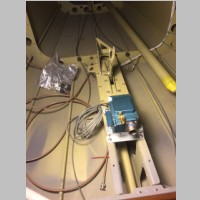
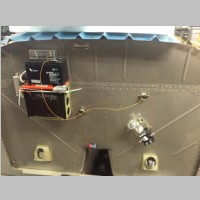
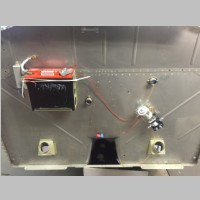
Above are the photos of my dimmer module manual, just for my reference, and above and below you can also see the relays being installed, and a couple rows below is the air pressure switch for automatically turning my tranponder to ALT mode once I start rolling for takeoff, since I don't have a GPS hooked to the Transponder. |
|||
 |
 |
 |
 |
 |
 |
 |
 |
 |
 |
 |
 |
 |
 |
 |
 |
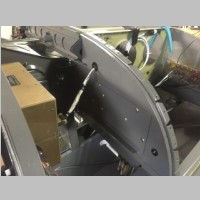
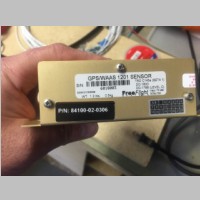
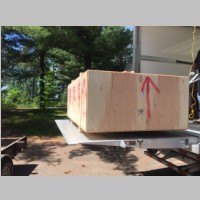
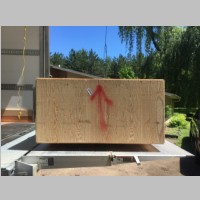
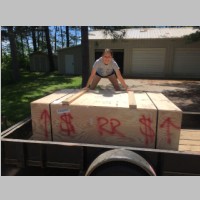
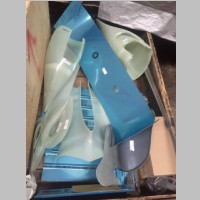
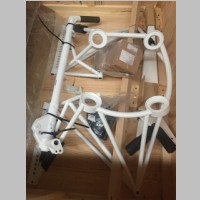
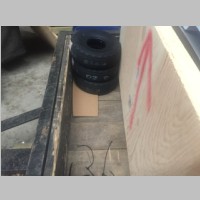
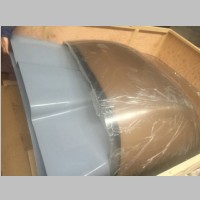
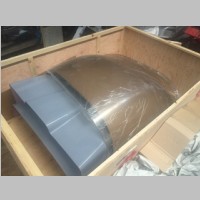
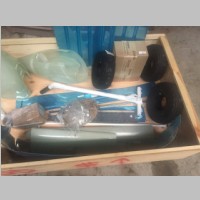
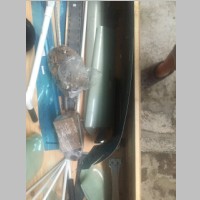
Above are just some pictures of mounting my Freeflight 1201 GPS, and my NavWorX ADS600B, and below is my GADAHRS. Just pictures for my own reference...nothing too interesting. Continuing after that is the arrival of the Finishing kit. It was one big heavy box. You will be absolutely shocked at how heavy the landing gear is on the RV-14. If someone finds a way to bend that stuff, I'll be amazed. There should be no durability problems with this gear. I'd worry more about the airframe where the gear attaches than anything else! |
|||
 |
 |
 |
 |
 |
 |
 |
 |
 |
 |
 |
 |
 |
 |
 |
 |
 |
 |
 |
 |
 |
 |
 |
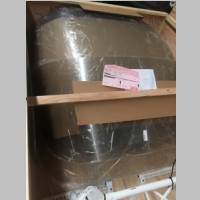
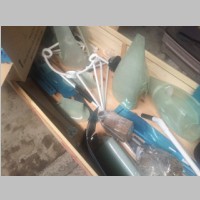
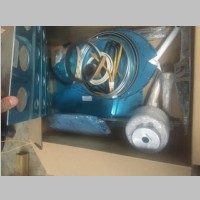
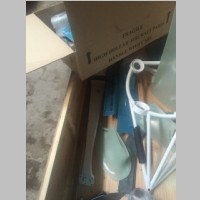
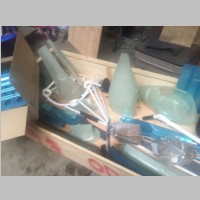 |
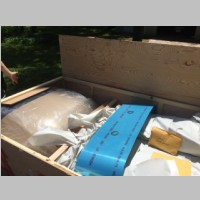
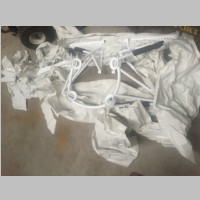
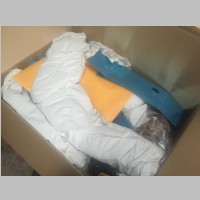
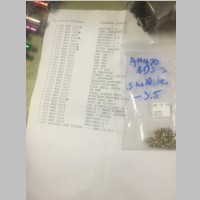
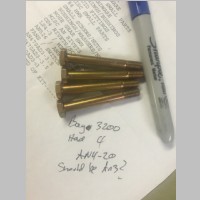
More pictures of parts in the boxes. Everything was packed pretty well, as usual. They dropped the ball big on the hardware kit though. While there was a checkoff sheet for inventory of the bags themselves, we have received nothing in the way of an actual inventory of what's in each bag...so I was forced to just cross my fingers that I got all the parts as I filed them into the hardware drawers. |
|||
 |
 |
 |
 |
 |
 |
 |
 |
 |
 |
 |
 |
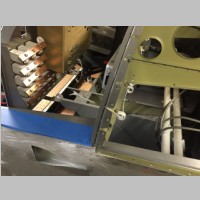
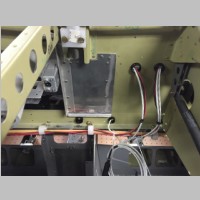
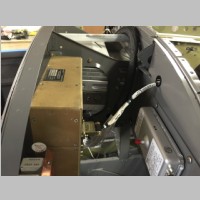
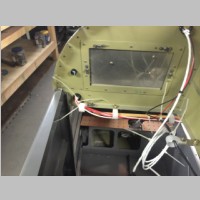
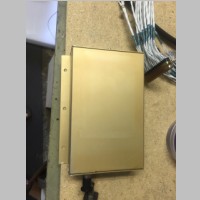
| And to wrap it all up, I
started throwing in some of the interior panels, to keep
some stuff from falling into the belly all the time.
It all looks like it should fit real well. I don't
have any pictures of the seatbacks, but I did get those
completed. Above are a couple pictures of the master
and starter contactors and battery. I've heard that
BOTH the battery wire and the throttle/mixture/prop cables
go through the 2 firewall passthroughs. That seems
to me it'll be quite crowded, so I may just invest in a
few eyeball passthroughs for at least the control
cables. I guess we'll see. It won't be too
long and I'll hang the engine and will have to get proper
length cables fit. The electrical power system is
basically done, except for the main feed from forward of
the firewall. Unfortunately to date there is nobody who
has given me anything visual that I can use to see how the
fat wires get routed into the cockpit. It sure is tough
building an airplane quickly when none of the information
is public, but at least it's summer, and OSH is almost
here, and I've got other things to keep me occupied.
I want to see this thing done, but I'm getting tired of
the delays and lack of information, so it's breeding
apathy. Maybe OSH will give me the boost...I
hope. By next year, this thing will be at OSH I'm
guessing though, barring another 6 month delay on the FWF
kit. |
|||