Finishing the Wings
10/27/2014Finished may be a pretty strong word, but finished for now, lets say. The controls work, the wingtips are installed, the wires and pitot tubes are in. What's left? Autopilot servo (TruTrak VSGV), Wingtip lights, Landing Lights, and a bunch of scuff and prep. All those things will wait until spring when it's possibly painting time.
 |
 |
 |
 |
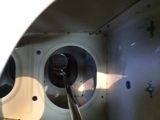
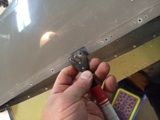
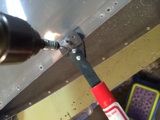
| Shown above is preparing to
install the Gretz pitot mast. It's the same one I
did on my RV10, which has worked well for me, so I did it
again. A doubler goes into the wing, and attaches to
an angle on the wing rib, and the spar. It was real
easy to install. In fact, the directions make it
harder (just because you have to think and interpret
what's going on) than it is. I mounted it on the 2nd
rib in from the wingtip. I don't like the more internal
location that Van's uses. On the RV-10 it was too
close to the wing tiedown hole, but also, in my hangar are
things like rolling chairs and aircraft jacks that fit
under the wing space, and keeping the pitot mast outboard
keeps it higher due to the dihedral, so it's more
protected. It's also easier to inspect and reach, and it's
in a good clean airstream. I'm using the Garmin
regulated pitot this time. I haven't had an issue with my
Gretz pitot, but some people have, and the new Garmin
pitot looks pretty good. I'm also not connecting the
pitot with the funky little adapters we got with the kit.
It's going in with AN fittings instead. |
|||
 |
 |
 |
 |
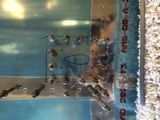
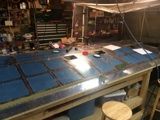
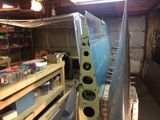
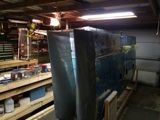
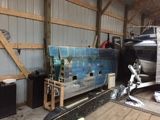
| With the pitot prepared, it's
time to rivet on the bottom skins. This step always
takes me a minute to get on, because I always feel like
leaving the wings open until all the wires and servos are
in. In the case of the RV-14, the most disappointing
thing I've encountered so far is that Van's is going over
the top in how much they are doing for you. Some
builders will love this. I'm not so thrilled.
I don't like the cheap, low quality Molex connectors that
are used...I didn't even WANT connectors on the wires for
my RV-10. I'd rather use nice round, twist lock connectors
with shiny gold pins, and then seal them up well
too. I also plan to run some ground wires for some
things, rather than use exclusively airframe
grounding. So when it comes time to actually connect
the wires to the fuselage, I'm going to have to do a lot
of chopping and re-pinning. I did add conduit, so
any new wires will be easy to install. I wish,
however, that Van's would have just provided a wiring plan
and wire parts kit option, and parts list, so that the
builder could add or change things as needed. The wing skin riveting went pretty well. Some of those rivets are dang hard to reach. Thank goodness that on this build, I had titanium bucking bars that are smaller and much more maneuverable. There is one other anvil topped one I wish I would have bought, but now it's probably not necessary going forward anyway. |
|||
 |
 |
 |
 |
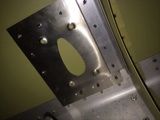
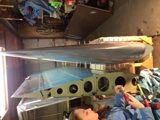
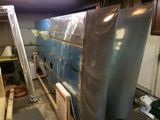
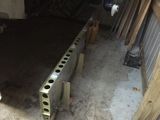
| Once the wing skins are on,
it's time for the wingtips. Van's provided a nice
aileron jig to align the tips with, so that was a nice
change from the RV-10. On the RV-10 I aligned
everything to the fully retracted flap. I guess
we'll see how this all works out for the RV-14. One tool I bought, that I've been just dying for an opportunity to use, is the nutplate jig. This came in extremely handy for doing the wingtip nutplates. With this tool, there's none of the stuipd cleco/hold in with a screw/drill stuff that you have to deal with. It allows you to just put the jig in the hole, drill, flip and drill. The nutplates come out perfect this way. Well worth it, and it'll be handy down the road as we're getting closer to the modification stage. |
|||
 |
 |
 |
 |
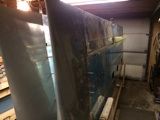
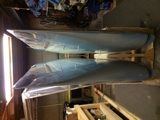
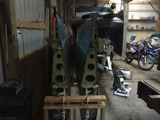
| The wingtips came about 1/2"
too long, so I had to shorten the trailing edge a
bit. With that done, it's time to bury these things
in the shed for a few months. The fuselage kit
showed up, so it's time to dig in to that. All the misc. completed parts are now just hanging out, out of the way. |
|||
 |
 |
 |
 |
 |
 |
||