Rudder Pedal Blocks Improved (RV10/RV14)
Updated 6/25/2017
The airframe is just not the best fit for anyone under maybe 5'8" or so. Maybe a little less. Yes, the seats can move from hinge point to hinge point and be moved forward. But for my wife and daughter at 5'2" - 5'3", even with the rudder pedals in the full aft position and the seats full forward, they are nowhere near able to reach the pedals with their feet. It takes a full 3" of block on the pedals to make it acceptable. Now this wasn't shocking to me anyway, since I had to do the same thing in my RV-10 for my wife and daughter.
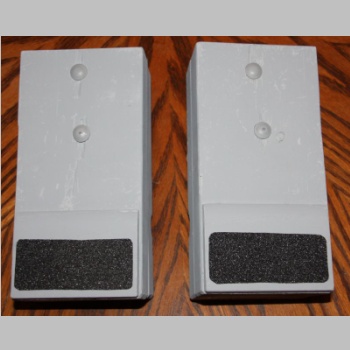
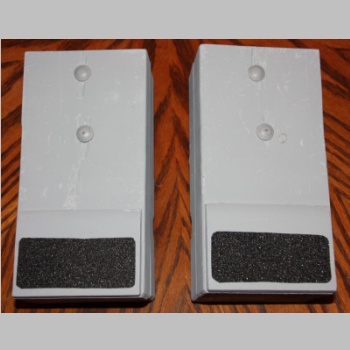
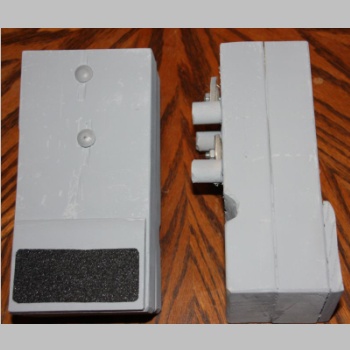
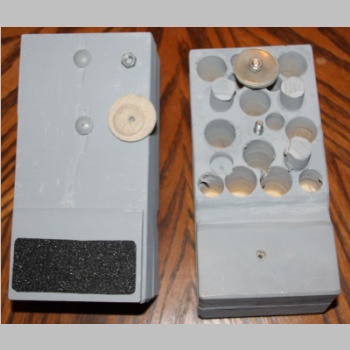
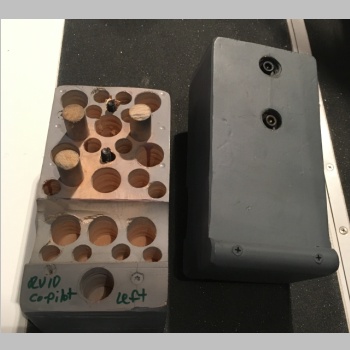
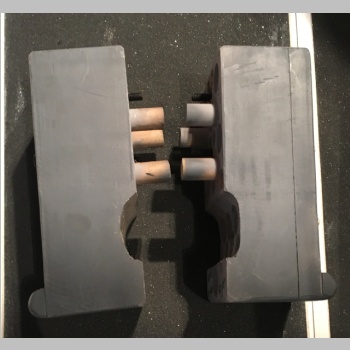
See this write-up from 2009 when I did it in my RV-10. Basically, I glued and screwed 2 blocks of wood, into a single pedal block, I think about 8.5" by 4.25" x 3" thick. Then you use a router and cut out a slot for where it overlaps the bottom bar on the rudder pedals. Then, I drilled and glued in dowel pins on the back side of the block, to fit into the holes in the rudder pedals. This was to prevent the pedals from being able to twist or move much out of their proper position. On the RV-10 due to it's pedal hole design, I used 2 bolts to hold the blocks on the pedal. The blocks also hang down about 2" below the bottom bar on the rudder pedals. This is because their feet are smaller and to be able to rest their heels on the floor and hit the blocks it will take a lower pedal. Then I drill a ton of holes in the top half of the back to lighten the block of wood a bit. I did not drill the bottom to lighten it, because this will help give it mass to help release the brakes if your feet aren't on the pedals. I glued or screwed on a piece of moulding trim on the front, and even on one pair added anti-skid tape. They worked well for my wife ever since 2009.
RV-14 Rudder Pedal Blocks
 |
 |
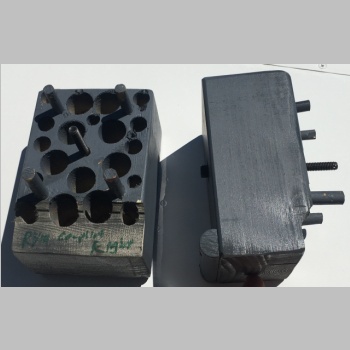 |
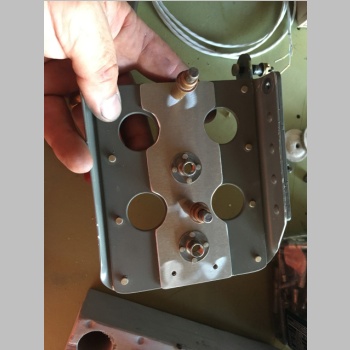
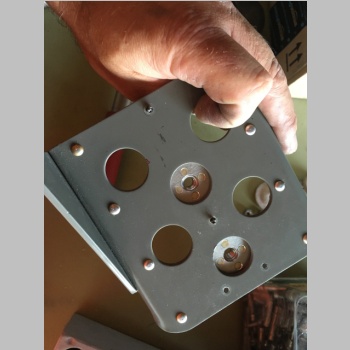
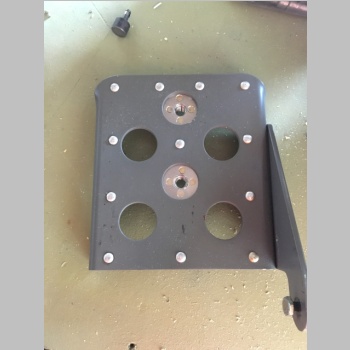
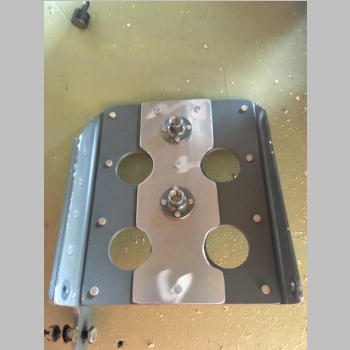
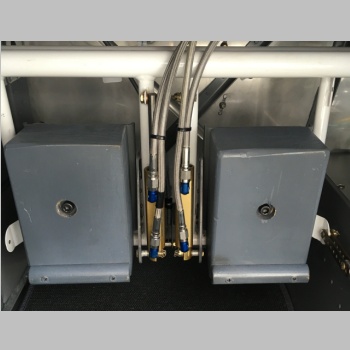
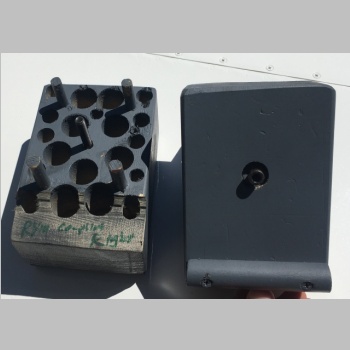
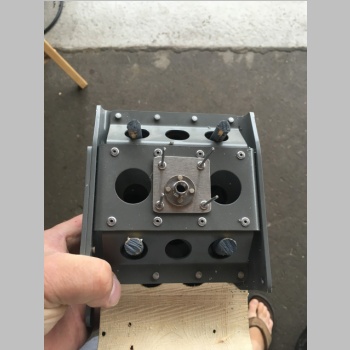
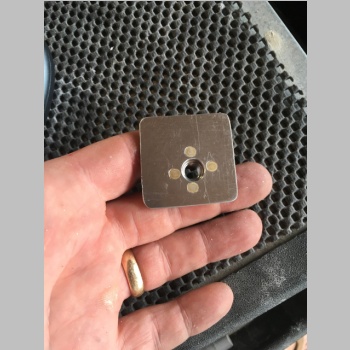
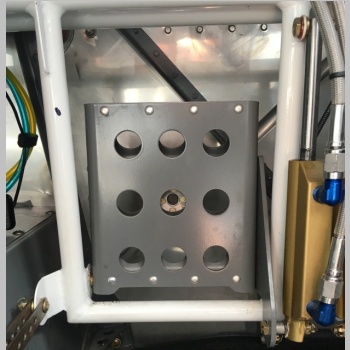
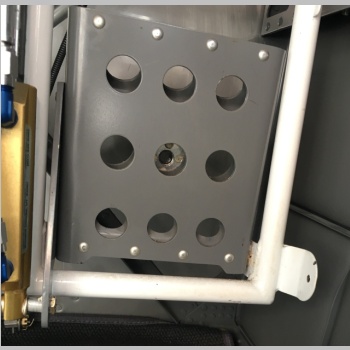
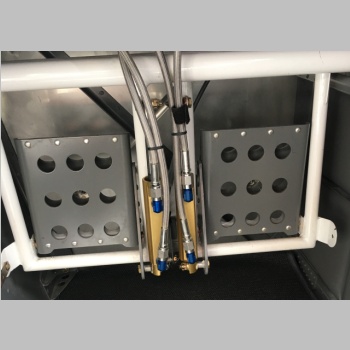
The RV-14 required a little modification to the block design though. I created 2 pairs of blocks for the RV-14 and built a 2nd pair of blocks for the RV-10 recently, to allow both wife and daughter to fly together. The RV-14 pedal design doen't lend itself well to 3/4" dowels like the RV-10 does. The holes in the back side don't line up perfectly with the ones in the front side. Instead, I laid the pedal on the blocks and drilled 4 holes in the outer levels, where I could get 5/16 dowels into the pedals to come out the back side of the rudder pedal. Then used a single center bolt to bolt it on. Previously, I had used carriage bolts, with nuts and large flat fender washers on the back. (See the below old pics of my RV-10 pedal blocks near the bottom of this page) This was OK, but in the RV-14, and the RV-10 for that matter, it is VERY hard to get up there to remove the nuts. After struggling with both planes for a while I decided to solve it once and for all. I wanted aft mounted nuts so I could insert bolts thru the front and tighten them from the fronts side. Nutplates are available but remember you're looking for coarse thread hardware store bolts to fit, so rather than AN hardware I went to Amazon and got these: "The Hillman Group 4145 5/16"-18 x 3/8" x 7/8" Stinless Steel Round Base Tee Nut (8-pack)". I wanted stainless and these had 2 holes in them already to rivet with. I drilled 2 more to make 4. On the RV-14 I mounted them to small square aluminum plates that I pop riveted on to the back of the pedal, centered in the center pedal hole. On the RV-10 I made a longer plate and riveted 2 of them to each pedal filling the 2 center column holes. Now I had permanent nuts on the pedals. Tee Nut Attachment
|
||
 |
 |
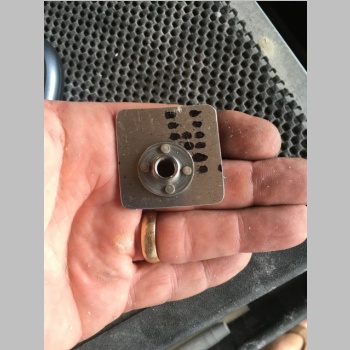 |
Here are some pics of the Tee Nuts as
installed from a front view on the RV-14.
|
||
 |
 |
 |
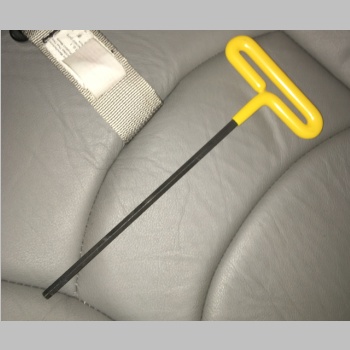
With the nuts in place, I bought some 4.5" (those are too long...4" is plenty or even 3.75" probably) 5/16-18 socket head cap screws. I then used a boring tool to bore a receptical into the front of the pedal where the carriage bolt used to sit. That way the head of these bolts wouldn't stick out. Then I inserted flat washers to give them strength, into that bore. To install these blocks, you could use a lightweight 1/4" allen key. I was leaning that way for cheapness sake but, with the long reach required, I figured I'd go all out and I bought, also on Amazon, a pair of "Bondhus 46512 1/4" Hex Tip Cushion Grip Loop T-Handle with ProGuard Finish, 9.9", 2 piece". These come 2 per order, so one per plane, and they make installing these rudder blocks a breeze. Now I'm all set with both planes for the girls to be able to fly whenever they want, with much less hassle. |
||
 |
 |
 |
Seat Back Adjustment
RV-10 Rudder Pedal Blocks
|
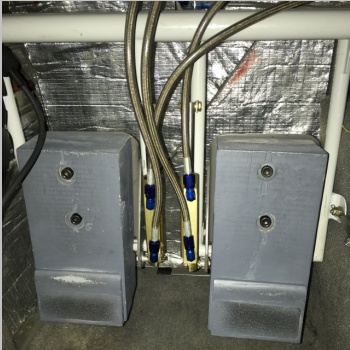
Here is a picture of the RV-10 rudder
blocks as they are today.
|
||
 |
 |
 |
MyRV14.com Home | MyRV10.com Home
