First Trip with the RV14 (and other stuff)
Added 9/7/2016
I got a bit tied up working on things and playing with the new
plane, so this is a catch-up compilation of a bunch of stuff.
First some mods and general upgrades
 |
 |
 |
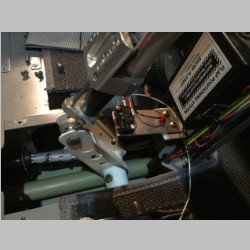 |
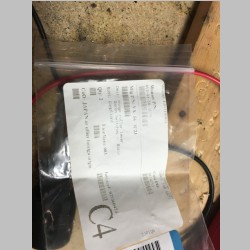
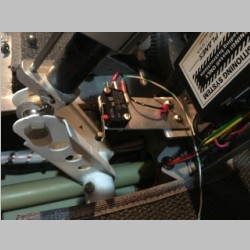
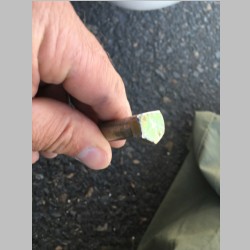
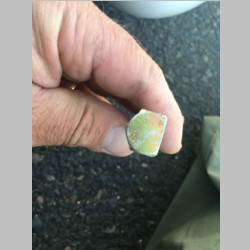
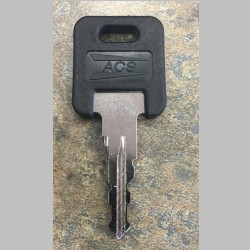
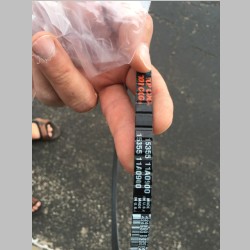
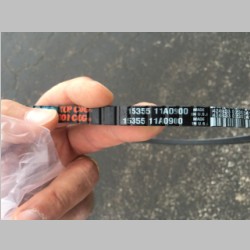
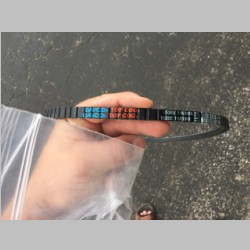
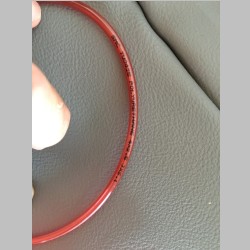
First, I ordered some brake pads from Aircraft Spruce for my Grove Brakes. Just for reference sake, they are RA66-106-4K with rivets of part number 105-2 (105-002C). This is for the Grove 30-4M caliper and 020-001 Torque Plate. Nice to have those ready just for when you need them. The 2nd thru 4th photos above are for my final modification to the installation of my Safety Trim. Refer to this page on MyRV10.com for more information on the way it all works, but, this is a microswitch that will sense when the flaps are not in reflex. This is so that I can force my trim speed to be full 100% speed by lowering my flaps out of reflex. The RV-14, just like the RV-10, has an almost dangerously fast trim speed to it, that can also make it hard to precisely trim while in high speed cruise. If you had a stuck switch, it could be a big problem in a small amount of time. Because of this, the elevator should be set to a slower trim speed when in cruise, or in this case, anything over about 100-110kts. I have an airspeed switch that will do that. However, if you want to force full-speed trim, such as when coming into the pattern, it's easy to do by adding a microswitch to the flaps that will send the trim to full speed when the flaps are lowered out of reflex. This switch works real well. The 2nd photo above is the package from the switch I used...I bought it years ago when I did the RV10 referenced in the above link. Below you see one more mod that I think you should highly consider before you finish your FWF. The first 2 photos show the peak filed down on one peak of the alternator attach bolt. You need to install the bolt with the head side forward or the nut will hit the belt. But, if you ever get stuck in the field and have to remove your alternator, this will be a major pain because the ring gear prevents the bolt from coming out. If you grind off one peak, you can get the bolt out past the ring gear. I had an "interesting" experience on my first trip with the RV-14 that prompts me to warn you all....carry a spare key at all times, and have a bunch made up. My key blanks I got from Aircraft Spruce for $5.50/ea and now I have 5 keys. I hope I don't ever lose another one. Yuck! The 4th photo is just a reminder for myself. I've run into a little bad luck lately with airplanes and I think I'll just remind myself of it by that stupid fortune cookie note. :) I also shot some photos of my alternator belt. I carry a spare with me at all times when traveling. The 4th picture in the bottom of this section is some SMC 4mmx2.5mm Polyurethane tubing. I recently bought a Mountain High O2D2-2G system for my RV-14 and I wanted some spare tubing for the regulator to unit connection...it's easy to find on Amazon. |
|||
 |
 |
 |
 |
 |
 |
 |
 |
Now for a very cool bag!
 |
 |
 |
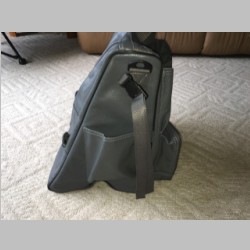 |
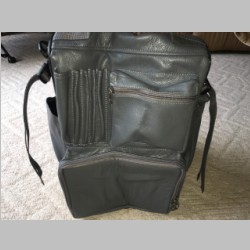
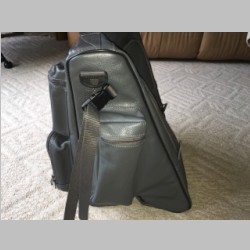
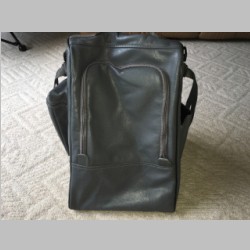
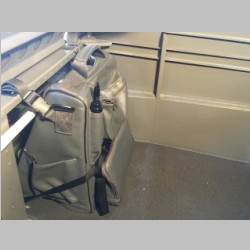
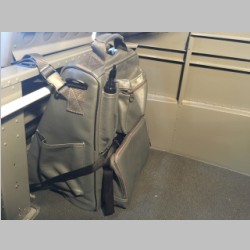
When talking to Abby from Flightline about wanting a tool pouch and general cockpit bag for all my spare parts, tool kit, first aid kit, spare oil, and other items, she was telling me about a great bag that she found that would fix all my problems. She pointed me to Mission Bags, a company that makes some awesome bags, including an "RV Flight Bag". I didn't hesitate on this one but went all out for the leather one. This bag was designed to fit behind the seat of the RV's. It turns out that for the RV-14 it's just a couple inches too tall to fit below the seat back support bar, especially with the latching mechanism in place, but that doesn't mean it won't work well. Check out the photos of this bag. Plenty of pouches for all your stuff, and, the way it's built, the large center pouch is accessible by simply folding the seat forward. So you can get into it very easy at fuel stops, or, in flight you can reach pens or other items that are stored in it's external pockets. I put my tiedown rings and many other things in there. The bag that I got is designed with a hump in the bottom floor of it for a flap tube that some RV's have, but again, the bag isn't RV14 specific and we don't need that feature. The only thing that I found lacking in the bag was a better way to secure it on the bottom. I suppose some RV's would keep it from moving by that flap tube under it, fitting in the slot. But without that, look at picture #3 below and that is how my bag looked after getting a little light at the top of a loop. I didn't want my bag to flop around the cabin so I added another strap to it. The bag has 2 straps that can go around the seat bar that will keep the bag from sliding backwards. What I did was to cut 2 aluminum strips about 2-3" long and drill holes in each end of the strip. One end I put under the bolt that holds the seat belt buckle. That left a free floating hole on the other end of the strip to attach a snap to. Then I have that snap and webbing go around the bag, and at the back side of the bag is a plastic snap buckle to make it easy to remove. I added the attach points to all 4 seat belt buckle location so I can move the bag from side to side of the plane as needed, for Weight and Balance or accessibility purposes. If you're looking for a great bag for your RV, check them out. I shot a photo of the letter that comes with the bags too...they sound like a very good company. |
|||
 |
 |
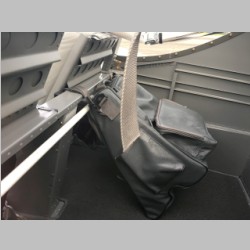 |
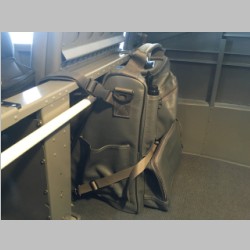 |
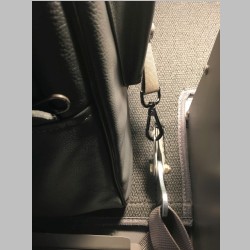 |
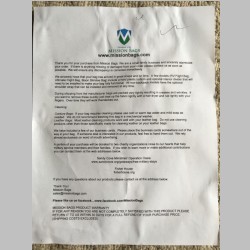 |
||
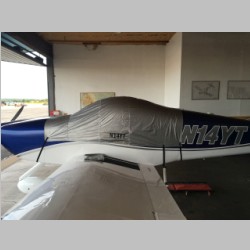
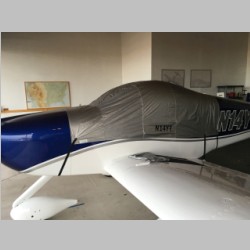
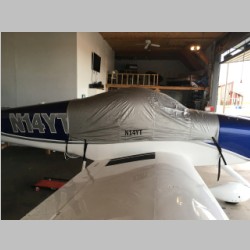
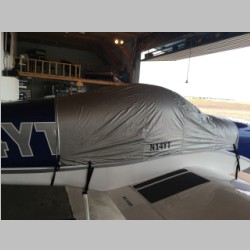
Flightline RV-14 Cover!
For those who saw my plane at OSH, you already know that Abby made a cover for the RV-14. That was a prototype that was a great but not perfect fit. Since then, I've sent it back to her for a little shortening and to have my N-Number embossed onto it. Now it's complete! Her covers are about the best thing you'll ever find for traveling with your RV. They keep the inside cool even when it's hot and sunny, and keep the dust and rain out of your plane.
 |
 |
 |
 |
First Trip - Johnson Creek Idaho!!
Quick day trip
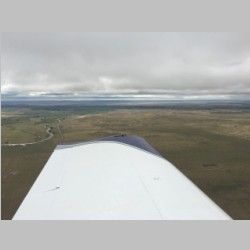
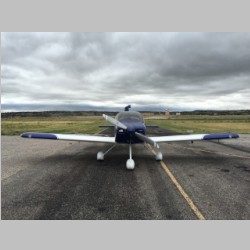
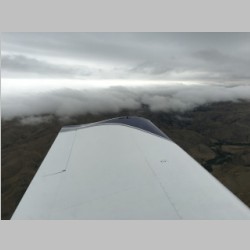
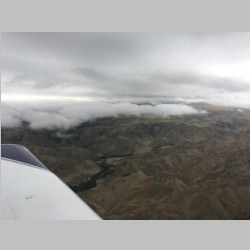
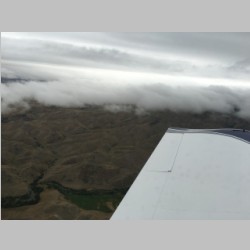
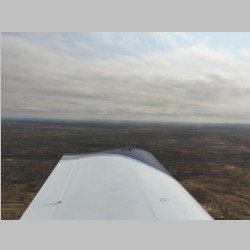
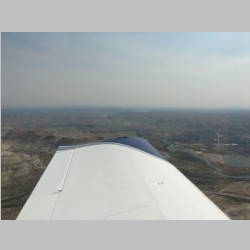
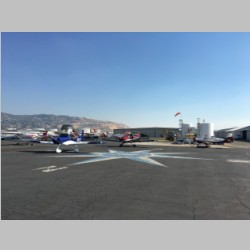
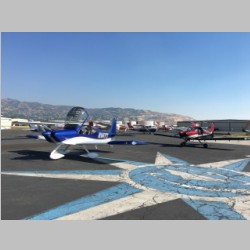
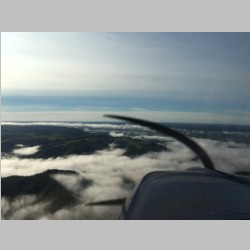
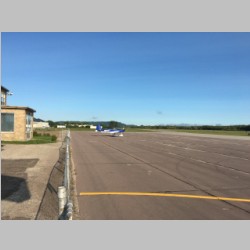
With one kid that needs to shop for a college, I found myself one day out for a flight to take her on a college tour. Just had a couple of pics from that outing. It's amazing to think that one of the kids that built my RV-10 with me back in 2005 is now planning her next year of going to college.
 |
 |
 |
MyRV14.com | Site Home | MyRV10.com
